
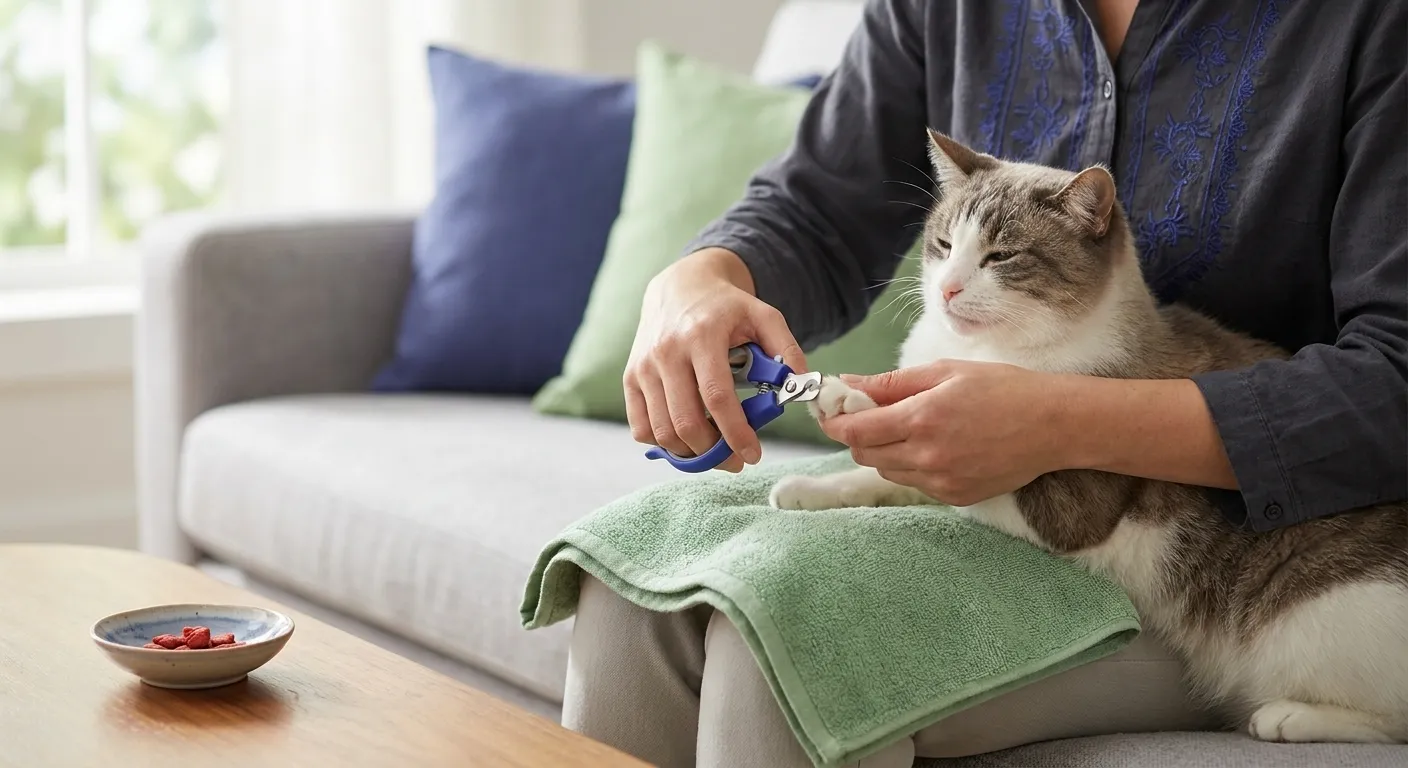
For many cat owners, the thought of trimming their feline companion’s claws conjures images of wrestling matches, hissing, and scratched forearms. It’s a common struggle, often leading owners to avoid the task altogether or delegate it to a vet or professional groomer. But what if we told you that with patience, the right approach, and a focus on positive reinforcement, you can achieve stress-free cat nail trims right in your own home? This guide from Cat Grooming HQ will empower you to transform this daunting chore into a calm, cooperative, and even bonding experience for both you and your beloved cat.
Why Stress-Free Cat Nail Trims Matter
Regular nail trims are not just about protecting your furniture; they are crucial for your cat’s health and comfort. Overgrown claws can:
- Cause Pain: They can curl under and grow into the paw pads, leading to infection and extreme discomfort.
- Impair Mobility: Long nails can get caught on carpets or furniture, making walking difficult or causing injuries.
- Lead to Joint Issues: Cats may alter their gait to avoid pain from long nails, potentially affecting their joints over time.
- Increase Risk of Injury: Both to your cat (if they snag a nail) and to you (during play or handling).
By making nail trims a positive experience, you’re not only ensuring their physical well-being but also strengthening your bond and reducing overall stress for your cat. In fact, consistent paw care contributes significantly to their overall happiness.
Preparing for a Calm Clipping Session
The key to success lies in preparation and a gentle, gradual introduction. Therefore, careful planning is essential before you even pick up the clippers.
The Right Tools Make All the Difference
Invest in quality tools designed for cats. Sharp tools ensure a clean cut, preventing discomfort for your pet. Specifically, consider these items:
- Cat-Specific Nail Clippers: Choose sharp, scissor-style clippers or guillotine-style clippers. Sharp blades ensure a clean cut, preventing splitting or crushing of the nail. Dull clippers can actually cause more stress.
- Styptic Powder: Keep this on hand. It’s a powder that quickly stops bleeding if you accidentally cut the quick (the sensitive part of the nail). Don’t panic; it happens! Moreover, being prepared reduces your own anxiety.
- High-Value Treats: Think tiny pieces of cooked chicken, tuna flakes, or squeeze-up treats. These are essential for positive reinforcement during your efforts to achieve stress-free cat nail trims.
Setting the Scene: Environment is Key
Choose a quiet, comfortable location where both you and your cat can relax. Avoid noisy areas or times when your cat is overly playful or agitated. For example, a calm evening might be better than a busy morning. A soft blanket on your lap, a calm voice, and gentle petting can help set a reassuring tone. The goal is to make the experience as predictable and pleasant as possible. Consequently, your cat will associate the location with positive interactions.
The Power of Positive Reinforcement
This is the secret sauce for stress-free cat nail trims. Start slow. Don’t try to trim all nails at once on the first attempt. Instead, break down the process into tiny, manageable steps.
- Familiarization: Begin by simply touching your cat’s paws for a few seconds, then immediately offer a treat. Repeat this many times over several days. This helps them associate paw touching with something positive.
- Extend a Nail: Once your cat is comfortable with paw touching, gently press a toe pad to extend a nail. Offer a treat right away. Practice this step repeatedly, ensuring your cat remains calm.
- Introduce Clippers: Let your cat see and sniff the clippers. Place them near their paw, then give a treat. Do not attempt to clip yet. The goal is to demystify the tool.
- Mock Clip: Gently touch the clippers to a nail without actually clipping. Immediately reward with a treat. This further desensitizes them to the clippers.
Consistency is paramount. Short, frequent sessions (even just 1-2 minutes) are far more effective than long, infrequent ones. Building positive associations takes time and patience, but the rewards are truly worth it for gentle paw care.
The Step-by-Step Guide to Stress-Free Cat Nail Trims
Once your cat is comfortable with paw handling and the clippers, you can begin the actual trimming process. Remember, slow and steady wins the race.
Step 1: Position Yourself and Your Cat
Find a comfortable position. Many owners find success by holding their cat gently on their lap, facing away from them, or cradling them like a baby. Others prefer their cat to be on a table, perhaps wrapped loosely in a towel if they are particularly squirmy. The key is gentle restraint, not force. You want your cat to feel secure, not trapped. Therefore, observe their body language closely.
Step 2: Isolate a Paw and Extend a Nail
Gently take one paw. Using your thumb on top of the paw and your index finger underneath, gently press the toe pad to extend the nail. This action makes the nail more accessible. Be very gentle; forcing their paw can cause immediate resistance. Meanwhile, keep a treat ready.
Step 3: Identify the Quick
This is the most crucial step to avoid pain. The quick is the pink, sensitive part of the nail that contains blood vessels and nerves. On light-colored claws, it’s usually visible as a pink triangle. On dark claws, it’s harder to see. If you have a dark-clawed cat, only clip the very tip, where the nail starts to curve. When in doubt, clip less. You can always take off more later. Many owners find a small flashlight helpful for identifying the quick in darker nails. For further information on identifying the quick, you can consult resources like the ASPCA’s guide to cat grooming.
Step 4: Make a Quick, Clean Cut
Position the clippers perpendicular to the nail, aiming to cut only the clear, hooked tip, well away from the quick. Make a swift, decisive cut. A clean cut is less likely to split the nail. Immediately reward your cat with a high-value treat and praise. This reinforces the positive association with the trim.
Step 5: One Nail at a Time (Initially)
For your first few stress-free cat nail trims, aim to clip just one or two nails per session. The goal is to keep the experience short and positive. If your cat becomes agitated, stop immediately and try again later. It’s better to do a few nails over several days than to traumatize your cat by forcing a full trim. In addition, ending on a positive note is always beneficial.
Step 6: Repeat and Reinforce
Gradually increase the number of nails you trim per session as your cat becomes more comfortable. Always follow each clip with a treat and praise. Over time, your cat will associate the clippers and the process with positive rewards. This consistency is vital for maintaining a calm demeanor during paw maintenance.
Common Challenges and How to Overcome Them
Even with the best intentions, you might encounter some hurdles. However, with patience, most can be overcome.
Challenge: My Cat Hates Being Held
Solution: Start with very short, positive handling sessions. Don’t immediately try to trim. Simply hold them gently, offer treats, and release. Gradually increase the duration. Some cats prefer to sit on your lap, others prefer to be on a blanket next to you. Furthermore, consider using a towel wrap for a sense of security, but ensure it’s not too restrictive.
Challenge: My Cat Freaks Out at the Clippers
Solution: Go back to the familiarization steps. Let them investigate the clippers, reward them for being near them, then for touching them. Associate the clippers with treats, not fear. A